Volvo 240 16v Tuning: Part 2
Limitations
This Engine is a Volvo b230 block, b234f head, the turbocharger is a Garrett G30-660 0.83AR with our Ando Engineering Manifolds and coil conversion
Dyno Testing Conditions
For those unfamiliar with dyno testing, the goal is simply to create a repeatable load on the engine so we can make controlled, back-to-back ECU adjustments under consistent conditions. In this session, we ran the car in fourth gear, as is standard practice, and set the ramp rate to roughly twice as long as a full-throttle pull on the street. This slower sweep allowed us to observe how the engine behaved through the full RPM range and capture consistent data for each change.
During testing, both coolant and intake air temperatures ran about 10°C higher than what we typically see on the road. Stable, but representing the worst-case scenario for heat and air density. This ensured that any results considered safe here would confidently translate to real-world driving.
Fueling and Knock Limitations
This engine was tuned exclusively on BP 98 RON pump fuel, which equates to roughly 93 octane on the U.S. standard. This turned out to be the major limiting factor during the tuning process. The engine runs a 9.25:1 compression ratio, which is great for throttle response and low-RPM drivability, but it increases cylinder pressure under boost and narrows the safety margin before knock occurs.
To manage this safely, we used audio knock detection throughout tuning. For this session, we ran a Link ECU Knock Block with a stand-alone sensor temporarily mounted to the block and monitored knock activity through earphones in the cabin, worn under earmuffs to cancel out dyno noise. This setup allowed us to hear knock events in real time while making live adjustments.
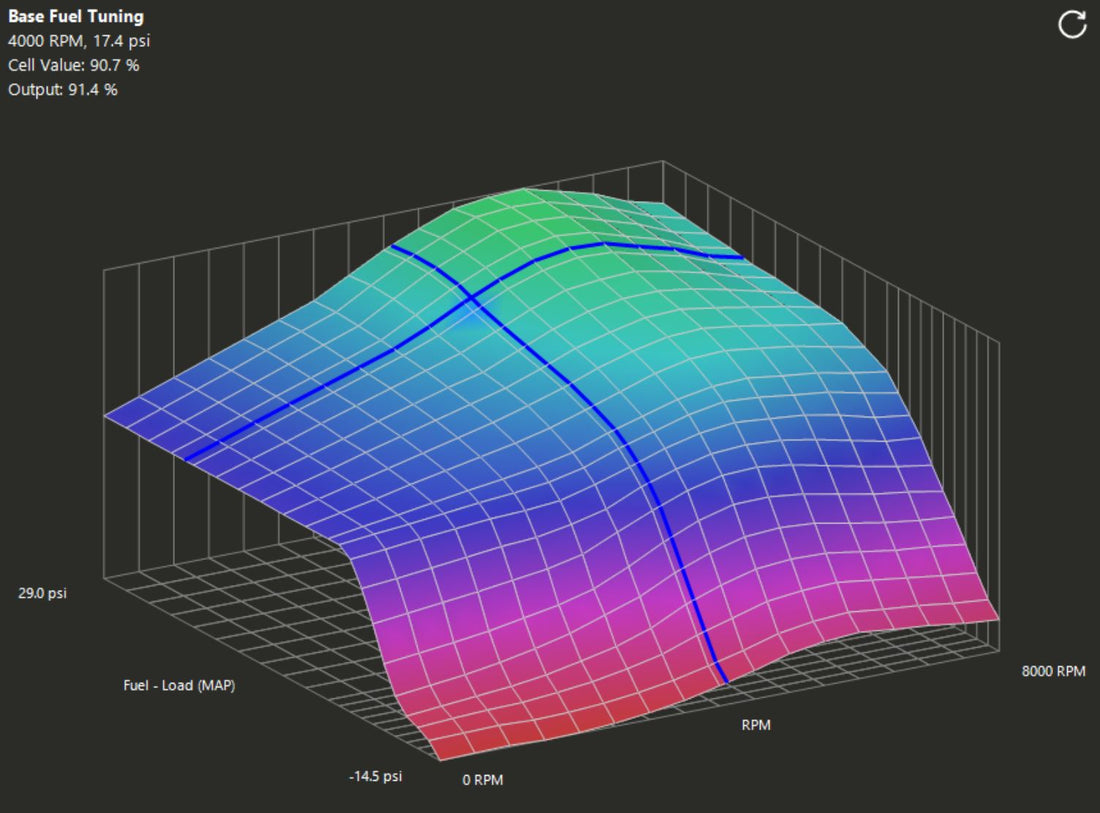
 On this particular engine, audible knock consistently appeared between 3,000 and 4,500 RPM — the point where torque rises sharply and cylinder pressure peaks. This is the most critical and potentially damaging zone, so eliminating knock here was the main priority. We experimented by enriching the mixture heavily in this area, but running excess fuel to provide a cooling effect didn’t reduce knock, indicating that fuel stability was the issue rather than hot spots in the combustion chamber. For those curious this is the mixture target table we are currently using.
 The most effective fix was reducing ignition timing in the affected zone. Retarding timing reduces peak cylinder pressure and delays the peak pressure to a safer point in the cycle as the piston moves down. This eliminated knock, though it came with a power trade-off we measured roughly 5 kW lost for every degree of timing removed in this range. Even so, the engine maintained a smooth, consistent power curve without detonation, leaving plenty of untapped potential for higher-octane fuel or alternative tuning strategies later.
Our injector duty cycle was aproaching 75% at this power level with our injector dynamics 1000cc injectors also leaving headroom but not a lot when you consider ethanol fuel requires more volume

Ignition Map and What We Learned
Following dyno testing, we took the car back to the street for further refinement. What we found was that in real-world conditions, there’s a noticeably greater safety margin compared to the dyno, mainly because intake and coolant temperatures are lower, and the engine spends less time under sustained high load. The dyno is a far harsher environment than the car will ever see on the road.

 In our final ignition map, timing has been ramped back in at higher RPM, particularly above 4,500 RPM, where knock was no longer an issue. On the dyno shown in this trace from our data log, we had to pull timing down to as low as 6° in the most knock-prone zone and gradually ramp it back in to around 11° at the top end once the engine cleared that window. On the street, we were able to safely add more timing, especially at the top end and at lower boost levels, smoothing out the transition in timing numbers as it comes on boost is where we found the most improvement in how the car feels on the street improving both response and overall power.


This final map is the one currently running in the car you can clearly see the timing hole in the knock zone. Feel free to reference it for your own setup, but remember, results will vary depending on your fuel quality, components, and calibration. If you use it as a base map, start with 5° less timing across the board and make sure your ignition timing is properly synced between the ECU and crankshaft before applying these numbers.
Summing this up, the refined ignition map made the car both smoother and stronger than it was on the dyno. With the street adjustments, the engine is now producing an estimated 10–15 kW more, and drivability has improved noticeably.
From our dyno data, we observed a clear 5 kW per degree of timing relationship in the knock-limited zone and more at higher rpm. From our testing Maximum brake-torque (MBT) timing through the mid-range sat between 20° and 25°, which aligns with what we’d expect from this combination. Based on that, and knowing we were running considerably less timing for safety, there’s likely 10–15° more timing available with higher quality ethanol-based or race fuel. That represents a significant amount of untapped power.
Torque Management
With ignition tuning under control, we turned our attention to torque management. The engine is now producing around 500 Nm, which is well above what the factory gearbox was designed for. Our goal was to control how torque comes in, softening the hit as boost builds to help protect the drivetrain.
Initially, we planned to use the drive-by-wire throttle to manage torque delivery, but this turned out to be unnecessary. The timing reduction required to avoid knock naturally flattened the torque curve through the mid-range, which effectively served as built-in torque management.
We also made use of the boost control system. On the dyno, we first set it up in open-loop mode, tuning the wastegate duty cycle table just below our desired target. Once that behaviour was stable, we switched to closed-loop control, which uses a PID feedback system to fine-tune and hold boost targets precisely.
This car uses the Haltech keypad in the dash with “turtle and hare” boost buttons, allowing on-the-fly adjustment of boost targets. You’ll notice that at higher boost levels, the table is configured to target a lower boost pressure until the engine passes a certain RPM, then commands full boost. This gives a progressive, deliberately lazy boost curve, softening torque delivery to help the gearbox survive.

The turbocharger is capable of coming on much harder and faster with more timing and higher commanded boost at low RPM, but we’ve intentionally softened it to add a little mechanical sympathy. The car still runs factory wheels with narrow tyres; we hope it will spin the tyres before the gearbox fails. But it is surprising how much traction the solid rear axle provides on such skinny tyres.
Throttle Tuning
After both dyno and street testing, we found that the 68 mm Bosch drive-by-wire throttle body paired with our Ando Engineering intake manifold was a perfect match. There were no power limitations at this size, and it provided excellent resolution and control at mid-throttle inputs, making the car smooth and predictable to drive.
We did find, however, that the default drive-by-wire dampening settings in the Haltech software were overly restrictive. The throttle blade lagged behind pedal input, it felt delayed and unresponsive. We suspect the base settings are tuned for larger throttle bodies, around 74 mm or more, as the default dampening was excessive for our setup.
After testing and logging, we discovered that by roughly tripling the Haltech baseline figures reducing dampening on opening, closing, and lift-off, we were able to remove nearly all throttle lag. The result was a crisper, more natural throttle response, with smooth modulation and instant feedback.


For anyone tuning or configuring a stand-alone ECU at home, it’s worth noting how easily drive-by-wire settings can be overlooked, yet they make a huge difference to how the car feels. If you’re running a Haltech ECU, the settings we’re using here are a great reference point to start from.
Camshaft Efficiency
From our testing, it’s clear that the factory camshafts were designed for low- to mid-range efficiency and drivability, which makes sense since the 16-valve head originally came from a naturally aspirated economy engine. When boosting these engines, it’s tempting to assume that performance camshafts are the next logical upgrade but that really depends on the goals of the build.
The dyno torque curve mirrors the engine’s efficiency, torque builds strongly through the mid-range, then tapers off at high RPM, showing that the factory cams have reached their flow limit. The VE table reflects the same story, with the highest efficiency numbers aligned to the torque peak before dropping away at the top end.

Camshaft design is always a trade-off. A cam that favours high-RPM power usually sacrifices low- and mid-range torque. While that might help our gearbox survive, these transmissions also don’t shift happily at high RPM, so pushing the rev limit doesn’t make much sense when the driveline can’t support it, this is also the reason we have kept the rpm limit at 7000rpm, it is possible to increase the boost pressure high in the rev range and stretch the rpm out however the gearbox doesn’t shift well at those rpms so realistically its unusable.
For outright performance builds, developing camshafts would definitely bring gains, but in a pump-fuel street car, fuel quality remains the real limitation. Ultimately, it comes down to where each owner wants to spend their budget.
If this were a dedicated race car, we’d focus on E85 tuning first, extracting more power safely through increased ignition potential and higher boost pressures that better fuel allows. In comparison, performance camshafts alone wouldn’t deliver the same return. The factory cams are genuinely good, especially compared with many other engines we’ve worked with.
Exhaust System
Building on the VE discussion, the car currently runs a 3-inch exhaust from the turbo through a single resonator midway down, ending in a V-band connection before the rear axle. From there, it steps down to an IPD axle-back section that was already on the car prior to the engine swap. We left it in place to see whether the step down to roughly 2¼ inches would create a measurable restriction.
The car was tuned with the full exhaust intact for about half the dyno session, then we ran back-to-back tests removing the IPD section and running only a straight 3-inch pipe with a single resonator. There was no significant difference in performance, and Haltech’s closed-loop fueling system showed no measurable change in short- or long-term fuel trims to hit our target AFR. Volumetric efficiency remained unchanged, and there was also no difference in knock limitation between the two setups.
While it didn’t affect power, we did notice an increase in exhaust temperature where the system narrowed a visible colour change after the transition between the 3-inch and smaller sections, suggesting higher backpressure and thermal load. It’s likely that above 400 horsepower, that smaller section would start to show measurable restriction.
The plan from here is to fabricate a true 3-inch over-axle exhaust, using a high-flow rear muffler to maintain a deep, refined tone without excessive noise. While the IPD exhaust didn’t restrict power it doesn’t sound great and the quality is low compared to the rest of the exhaust, we are hoping for a better overall sound that matches the car’s character going to a larger diameter.

Closing Thoughts
Now we have a clear picture of the engine’s current limits and where the biggest gains still lie. We’ve learned that fuel quality, not hardware, is now the bottleneck, and that both ignition and boost have plenty of untapped headroom.
We have great validation of our Ando engineering products, both our exhaust and intake manifolds performed flawlessly, and the coil conversion was reliable. We have not experienced a single misfire with the GTR coil conversion.
From here, we plan to upgrade the diff to a quality LSD and increase the tyre width to a 205 on the Virgo wheels. Then we want to drive it hard and see if the gearbox is really a limitation.
From what we have seen in our testing this engine should easily make 500hp at the wheels only by changing to e85 which would alow more timing and boost. We would probably max out the 1000cc injectors with the extra volume required on ethanol which would be our next limiting factor. from here there is definitely gains to be had in Camshafts although it is expensive to develop a good solution.
We could work with Kelford cams here in New zealand to develop a good solution. Something to consider in the future if there is enough interest
In part 3 we will cover some Volvo-specific issues we have discovered during the process